Why Daikin VRV Commissioning Errors Cost You Time and Money
Installation mistakes on complex HVAC systems are more common than most technicians like to admit. In the world of Daikin VRV commissioning, even small oversights can snowball into serious failures.
Think miswired controls, incorrect drain falls, or communication cable issues. These problems don’t just affect performance. They lead to call-backs, delays, and margin erosion.
Daikin VRV systems are engineered to tight tolerances. If commissioning steps are missed, the system will expose those mistakes sooner or later. The commissioning phase is your last real chance to catch issues before the system goes live.
At Alpha Technical Training, Daikin’s official VRV training partner in Australia, we see the same commissioning failures repeat across sites. This guide focuses on three pre-power mistakes that routinely derail Daikin VRV commissioning and destroy profitability.
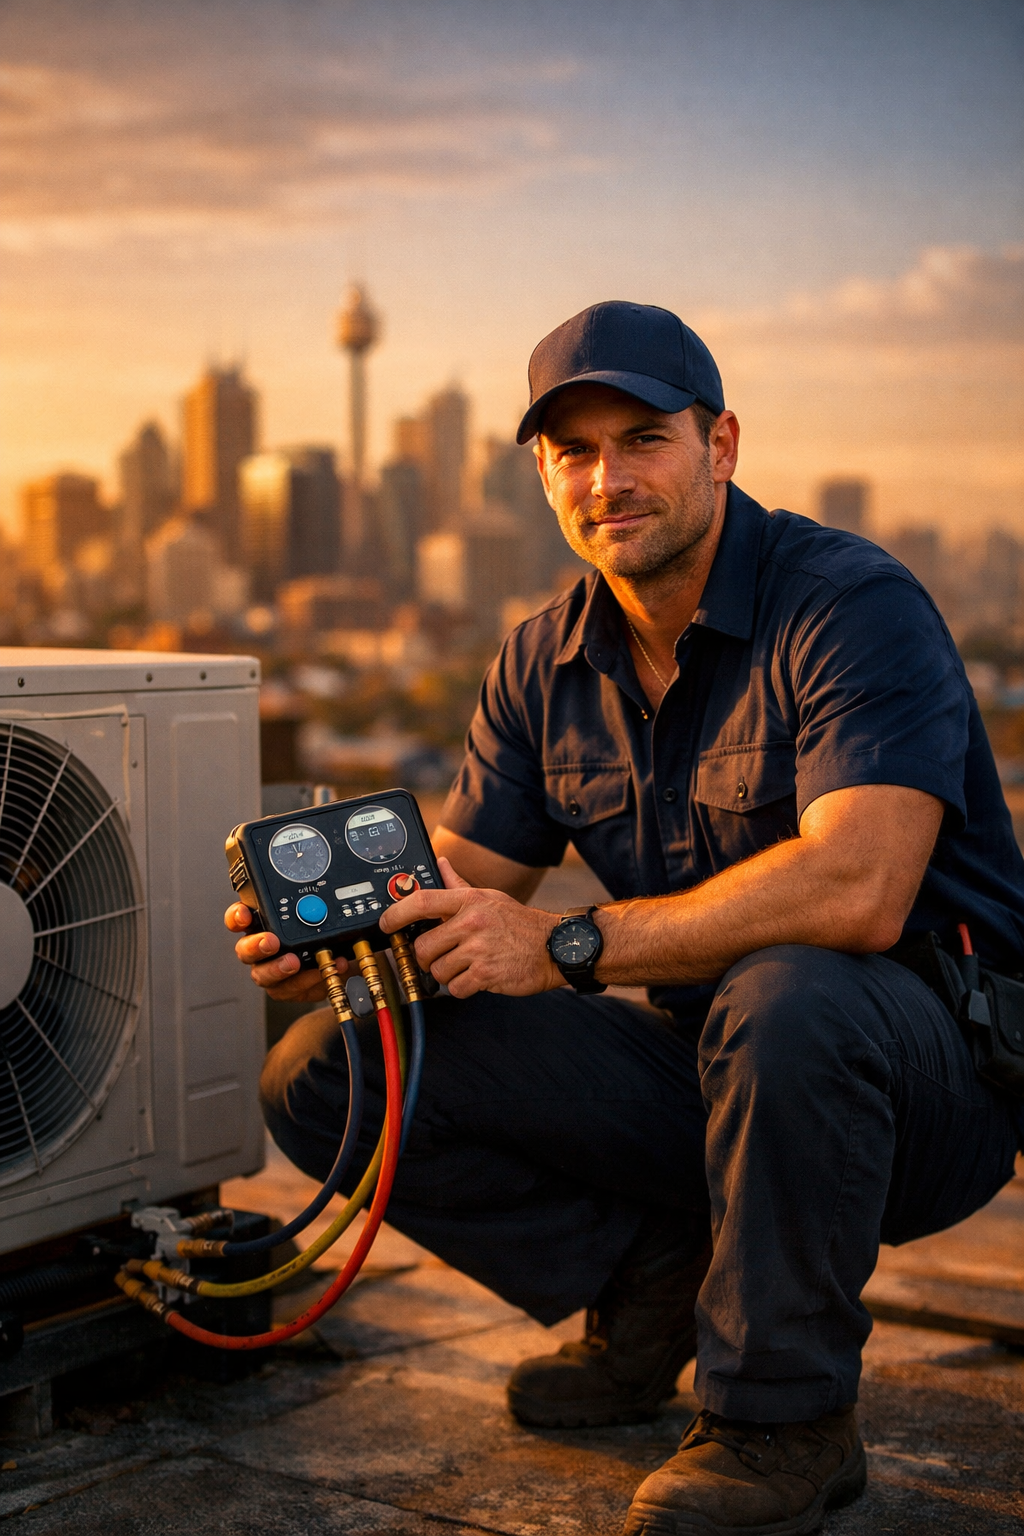
Before you apply power to a new system, make sure you’ve addressed every item below.
Daikin VRV Commissioning Mistake #1: Forgetting Compressor Shipping Brackets
1. Why Shipping Brackets Wreck VRV Systems
Daikin secures each compressor with factory-installed shipping brackets, usually painted bright yellow. These brackets protect the compressor during transport.
They must be removed before commissioning.
If left in place, the compressor cannot float on its vibration isolators. Once the system runs, noise and vibration increase dramatically.
Technicians often refer to these as the “shipping brackets of doom” for a reason.
2. The Real Cost of This Mistake
Leaving shipping brackets installed leads to:
-
Excessive vibration
-
Noise complaints
-
Stress on pipework
-
Premature compressor wear
Explaining to a client why a brand-new VRV system sounds like a jackhammer is not a good look.
Daikin VRV commissioning best practice: Always remove all compressor shipping brackets and re-torque mounting bolts before power-up.
Daikin VRV Commissioning Mistake #2: Rushing the Nitrogen Pressure Test
The Correct Pressure Testing Standard for Daikin VRV Systems
Leak testing is not optional in Daikin VRV commissioning. With long pipe runs, branch joints, and multiple indoor units, even a small leak will cause future failure.
Daikin’s requirement is clear:
-
Dry nitrogen
-
≈ 550 psi (3.8 MPa)
-
Minimum 24-hour hold
Some smaller systems allow lower pressures, but for most VRV systems, 550 psi for 24 hours is the benchmark.
Why Shortcuts Always Come Back to Bite
A system may hold pressure for one hour and still fail overnight. Micro-leaks often show up only after extended testing.
Skipping or shortening this test almost guarantees:
-
Refrigerant loss
-
Low-charge faults
-
Compressor damage
-
Costly call-backs
If pressure drops, find the leak and fix it. Soap bubbles, electronic detectors—use whatever works. Then retest.
Only proceed once the pressure holds steady for the full duration.
Daikin VRV Commissioning Mistake #3: Powering Indoor Units Too Early (EEV Error)
How EEVs Catch Technicians Out
Every indoor unit and branch selector box contains an Electronic Expansion Valve (EEV). From the factory, these EEVs ship open.
Once powered, they drive closed.
If you energise indoor units before completing pressure testing and evacuation, you isolate sections of pipework without realising it.
What Goes Wrong When EEVs Close Too Early
Closed EEVs prevent:
-
Proper nitrogen pressure testing
-
Complete evacuation
-
Moisture removal
You may think the system passed testing, while parts of it never saw pressure or vacuum.
Later, trapped air or moisture causes:
-
Acid formation
-
Corrosion
-
Oil breakdown
-
Compressor stress
The Correct Power-Up Sequence
During Daikin VRV commissioning:
-
Leave indoor units and branch selector boxes unpowered
-
Complete pressure testing
-
Perform full evacuation
-
Only then apply power for commissioning
Daikin provides recovery/evacuation modes to reopen EEVs if mistakes happen. Using them costs time.
Avoid the problem entirely by following the correct sequence.
Why Proper Daikin VRV Commissioning Protects Your Margins
Each of these mistakes seems small. In reality, they trigger expensive failures.
Correct Daikin VRV commissioning:
-
Prevents refrigerant loss
-
Protects compressors
-
Reduces call-backs
-
Preserves profit margins
The time spent doing it right always costs less than returning to fix it later.
How VRV Training in Australia Helps Technicians Avoid These Mistakes
Many of these issues don’t come from carelessness. They come from gaps in training.
Modern Daikin VRV systems behave very differently from traditional split systems. Understanding commissioning sequences, control logic, and failure modes is critical.
This is where VRV training in Australia makes a measurable difference.
At Alpha Technical Training, we deliver hands-on Daikin VRV training tailored to Australian conditions, codes, and real job sites. As Daikin’s official VRV training partner in Australia, we focus on preventing the exact mistakes outlined above.
Daikin VRV Commissioning Checklist Before Power-Up
Before pressing ON, confirm:
-
Shipping brackets removed ✔
-
Nitrogen pressure held at 550 psi for 24 hours ✔
-
Indoor units unpowered during testing ✔
If all three are ticked, you’re setting the system—and yourself—up for success.
Final Thoughts: Commission Once, Get Paid Once
Daikin VRV commissioning rewards discipline. The systems perform exceptionally well when installed and commissioned correctly.
Rushing pre-power checks almost always leads to rework. Slowing down at commissioning protects the system, your reputation, and your margins.
If you want to eliminate guesswork and master commissioning on complex systems, structured VRV training in Australia is the fastest way there.
Happy commissioning—and remember, the best service call is the one you never have to make.